Playing games with friends is one of the most enjoyable experiences you can have in virtual reality.
With the release of the Oculus Quest 2, it has become easier than ever to connect with other players and share your VR adventures.
Either you can use your Oculus mobile app to add friends or you can also invite them without removing the quest 2 headset.
In this article, we’ll walk you through the process of adding friends on Oculus Quest 2.
Add friends to your account using the Oculus mobile app
First of all, make sure that you are using the correct oculus account. Now let’s move to the next steps:
Step 1: Download the Oculus App
To add friends, the first step is to download the Oculus app. You can find this in either the Apple Store or Google Play store, depending on your device. With the Oculus app, you can manage your friend list and access your account settings from any device that has internet access.
Step 2: Log Into Your Account
Once you’ve downloaded the Oculus app, open it up and log into your account. If you have a camera on your device, you can scan a QR code with it or enter your username and password to do this. The app will show all of your available options once your headset is connected.
Step 3: Navigate To The Friends List
Upon logging into your account, click on the “Friends” tab. You can view all of your friends here as well as search for new ones by typing in their name or email address in the search bar at the top of the page. Simply select the name of the person you wish to add as a friend and hit “Add Friend” in the bottom right corner of their profile.
You can find additional information here: How to add Meta Horizon followers on Meta Quest devices
Add friends to your account from your VR Headset Meta Quest 2, Quest, or Pro
In the early days of the inviting features, removing your headset to invite a friend was the most annoying part.
So meta finally fixed this issue and get their user’s easy way to add friends while gaming on quest 2:
- Press on your right Touch controller to pull up your universal menu.
- Select People > Search Friend
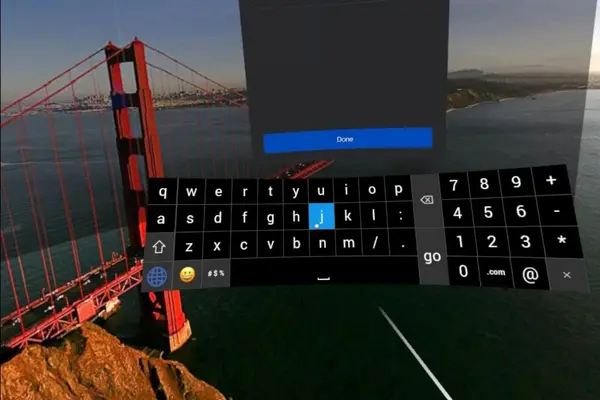
- Choose “Search name or username” and enter your friend’s username or first and last name.
- By selecting next to someone’s name, you can add them as a friend.
Interesting News – XTADIUM: Watch Live Sports Event In VR With Your Friends & Family
How to Add Friends on Vrchat for Meta Quest Users
Vrchat is a virtual reality social platform that allows users to create content, play games, and hang out with friends. If you’re a Quest headset user and looking to add friends on Vrchat, this guide will get you started.
Step 1: Setting up Your Account
In order to add friends to Vrchat, you have to create an account. You can do this by logging into your Oculus account and downloading the app. After you’ve installed the app, you’ll have to choose an avatar and a username to be recognized by other users. You can also make your avatar look and feel your own way!
Step 2: Finding Friends
Once your account is all set up, you can start searching for friends on Vrchat. At the top of the app, there is a search bar where you can type in usernames or keywords to find people who share similar interests as you. You can also join public rooms where people are hanging out and introduce yourself!
Step 3: Adding Friends
Once you’ve found someone who seems cool, it’s time to add them as a friend! To do this, just click their username on their profile page and then click “Add Friend” at the bottom of their profile page. They will receive a notification letting them know that someone has requested to be their friend. When they accept your request, you’ll both be connected! Now that they are your friend, they will appear in your friend list when they come online so that you can chat with them or join their game room if they have one open.


